A decorated cheesecake does not need a towering pile of toppings to feel special. A cold, smooth cake plus one clear flavor direction can look polished on a birthday table, at a dinner party, or beside a stack of plates at an office celebration. The goal is not to disguise the cheesecake. It is to give guests a beautiful first look, then a slice that still tastes balanced and cuts cleanly.
Start with a cold, steady cheesecake
The best cheesecake decorating tool is time in the refrigerator. A fully chilled cake has a firm surface, cleaner edges, and a filling that can support fruit, cream, chocolate, or a sauce without turning soft under your hands. If the cake was baked at home, let it cool as the recipe directs, then chill it completely before attempting a finish. If it came from a bakery, keep it refrigerated until the decorations are ready.
Set the cake on the plate, board, or stand you plan to use before you begin. Moving a finished cheesecake from one surface to another is an excellent way to turn a neat border into an abstract painting. Have a small offset spatula or the back of a spoon, paper towels, a clean knife, and your toppings within reach. A simple setup lets you work calmly instead of leaving the cake exposed while you hunt for a spoon.
Do a quick surface check. A small crack is not a disaster. A thin layer of sauce, a ring of fruit, a scatter of chocolate, or a few piped cream accents can make it disappear. The cheesecake should still be the visual center, so resist the urge to cover every inch just because a tiny imperfection is visible.
Choose one flavor direction before adding anything
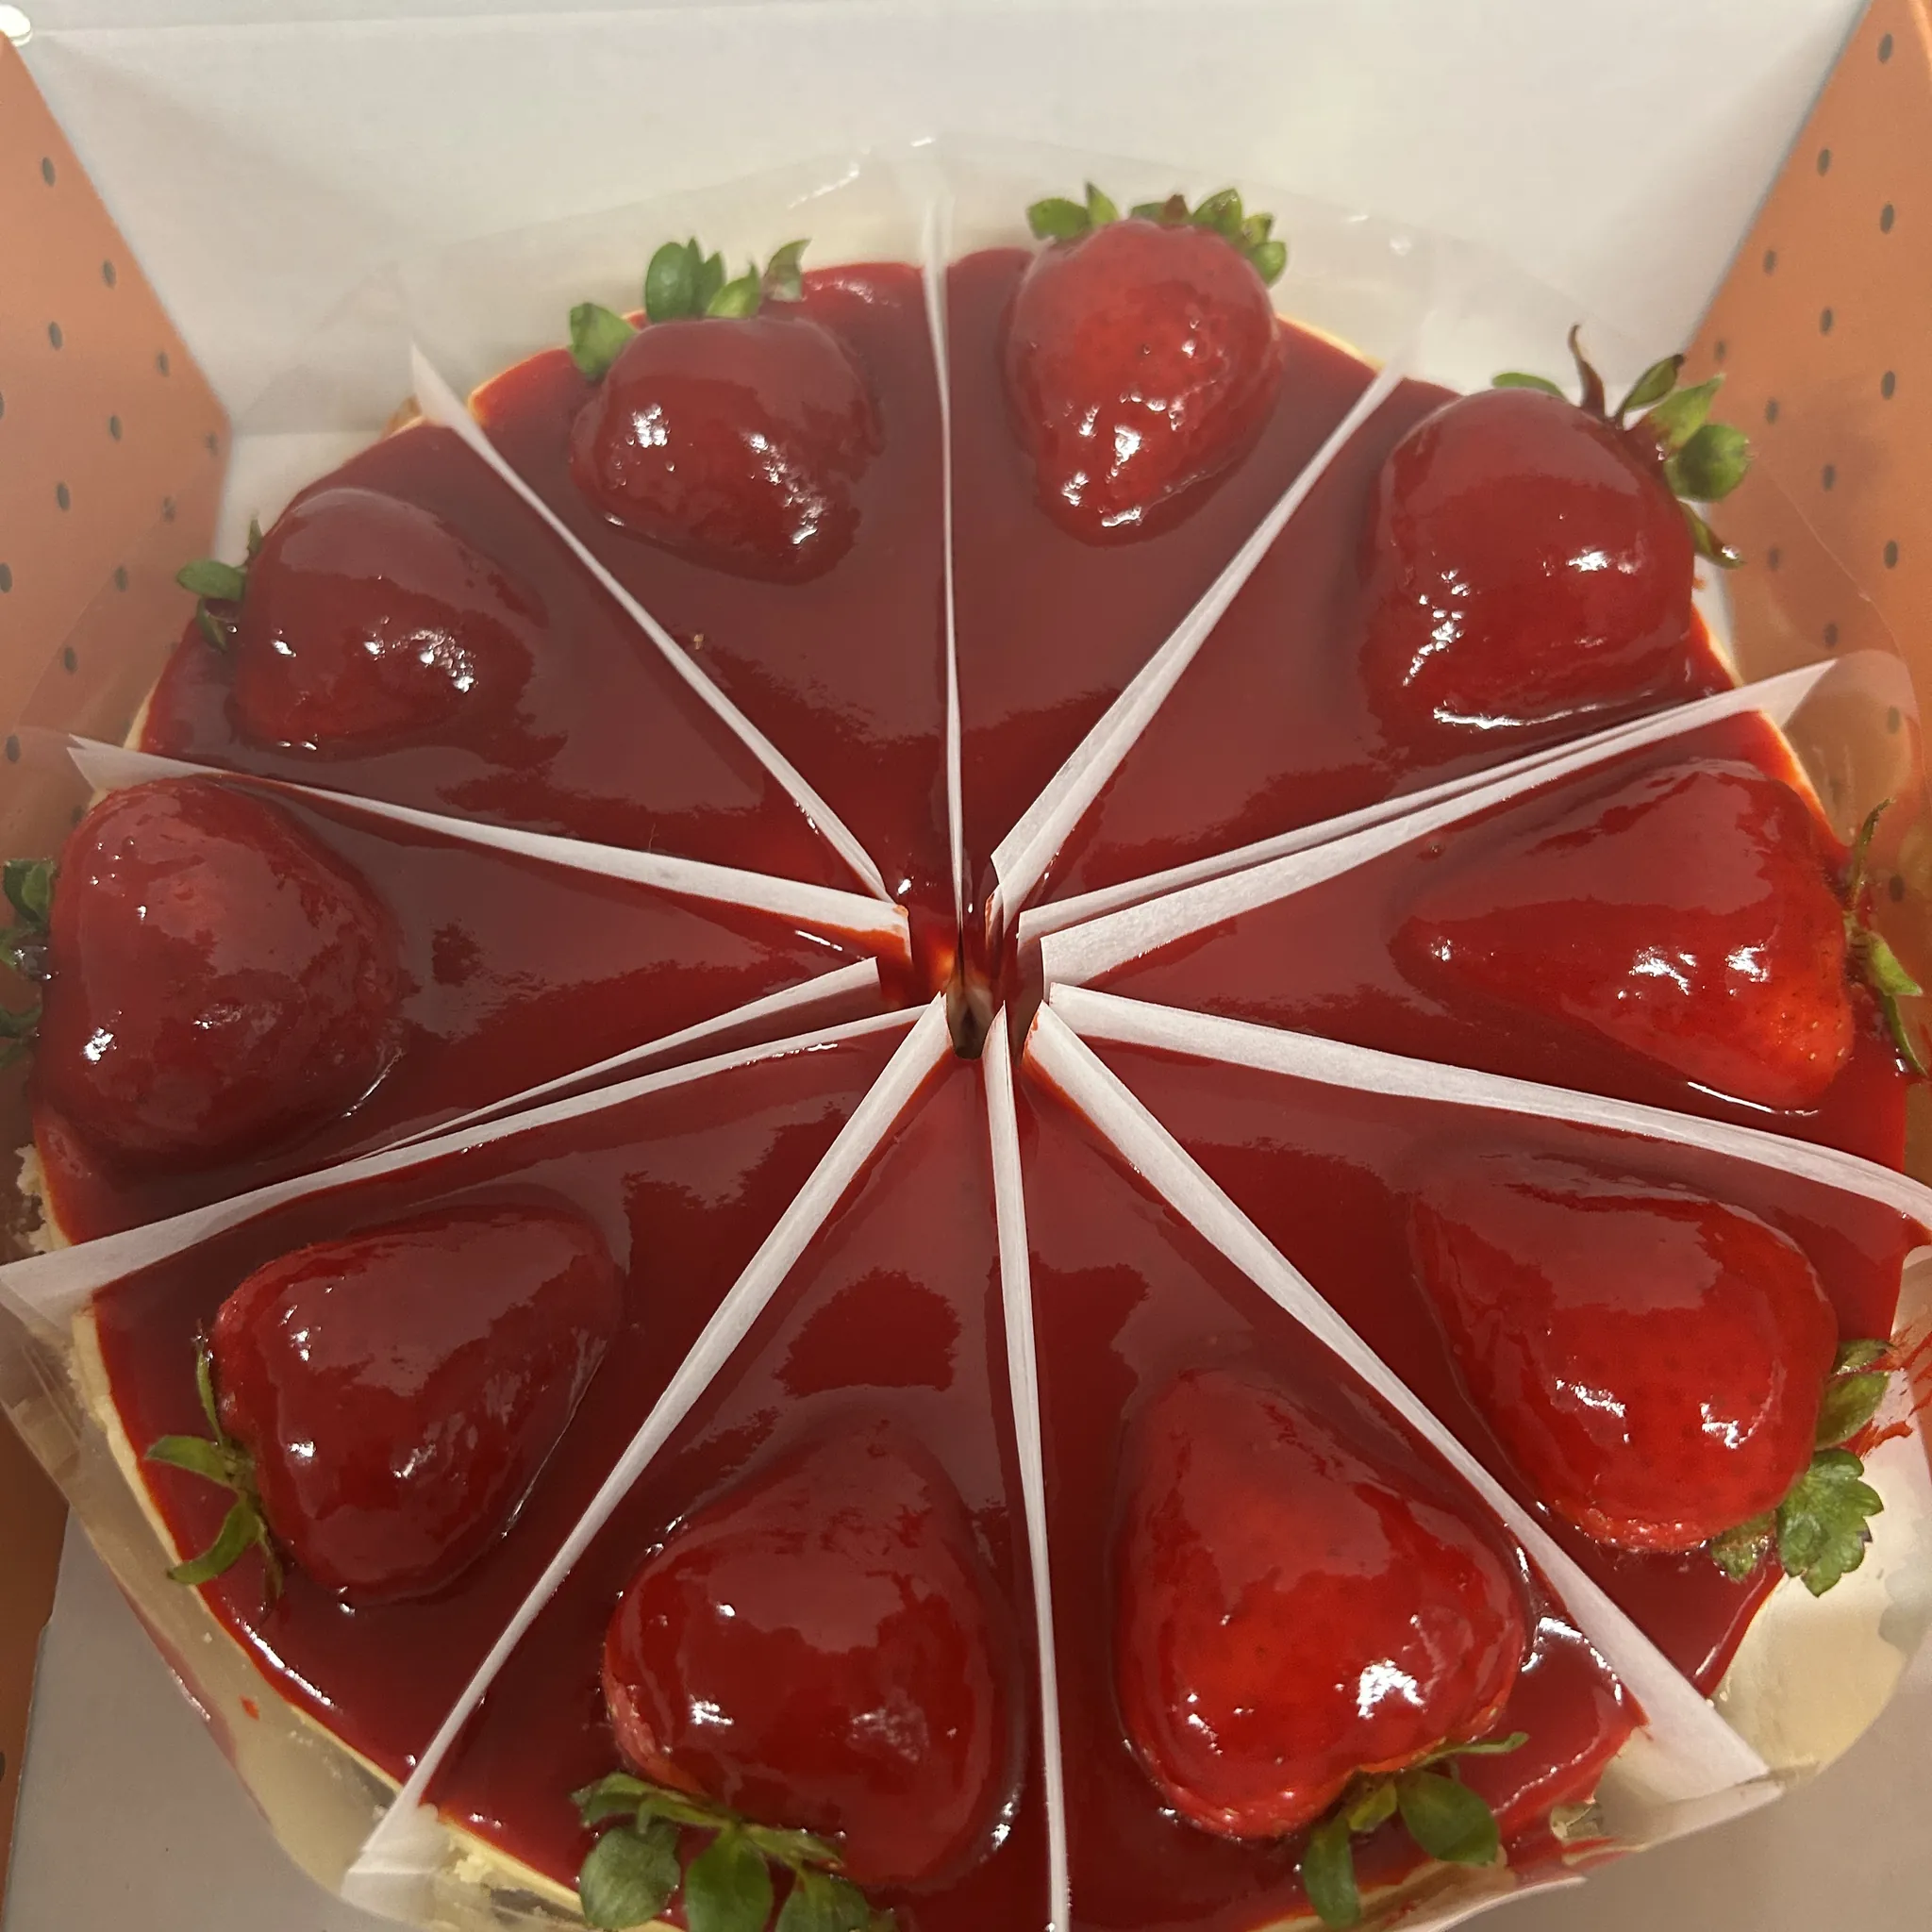
The easiest way to make a cheesecake look intentional is to choose one main idea, then keep the supporting details in the same family. Berries and lemon zest feel bright and fresh. Chocolate and toasted pecans feel rich and warm. Caramel with a small pinch of flaky salt feels cozy. A plain New York-style cheesecake can carry any of these directions, while a strongly flavored cake usually needs a lighter hand.
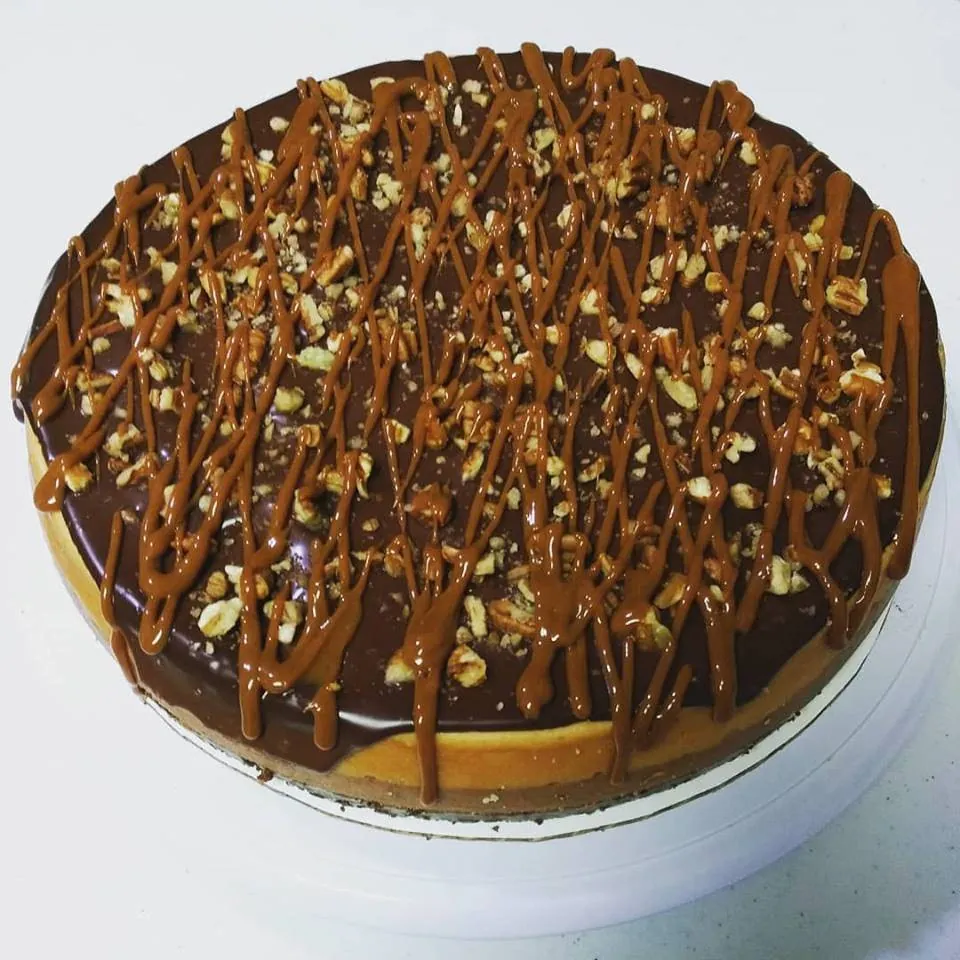
Think in threes: one main topping, one supporting texture, and one finishing detail. For example, strawberries can be the main topping, chocolate shavings can add texture, and a small ring of whipped cream can frame the edge. Or use a glossy chocolate sauce as the main element, chopped pecans for crunch, and a few curls of chocolate as the finish. This gives the eye somewhere to rest and keeps the first slice from becoming a construction project.
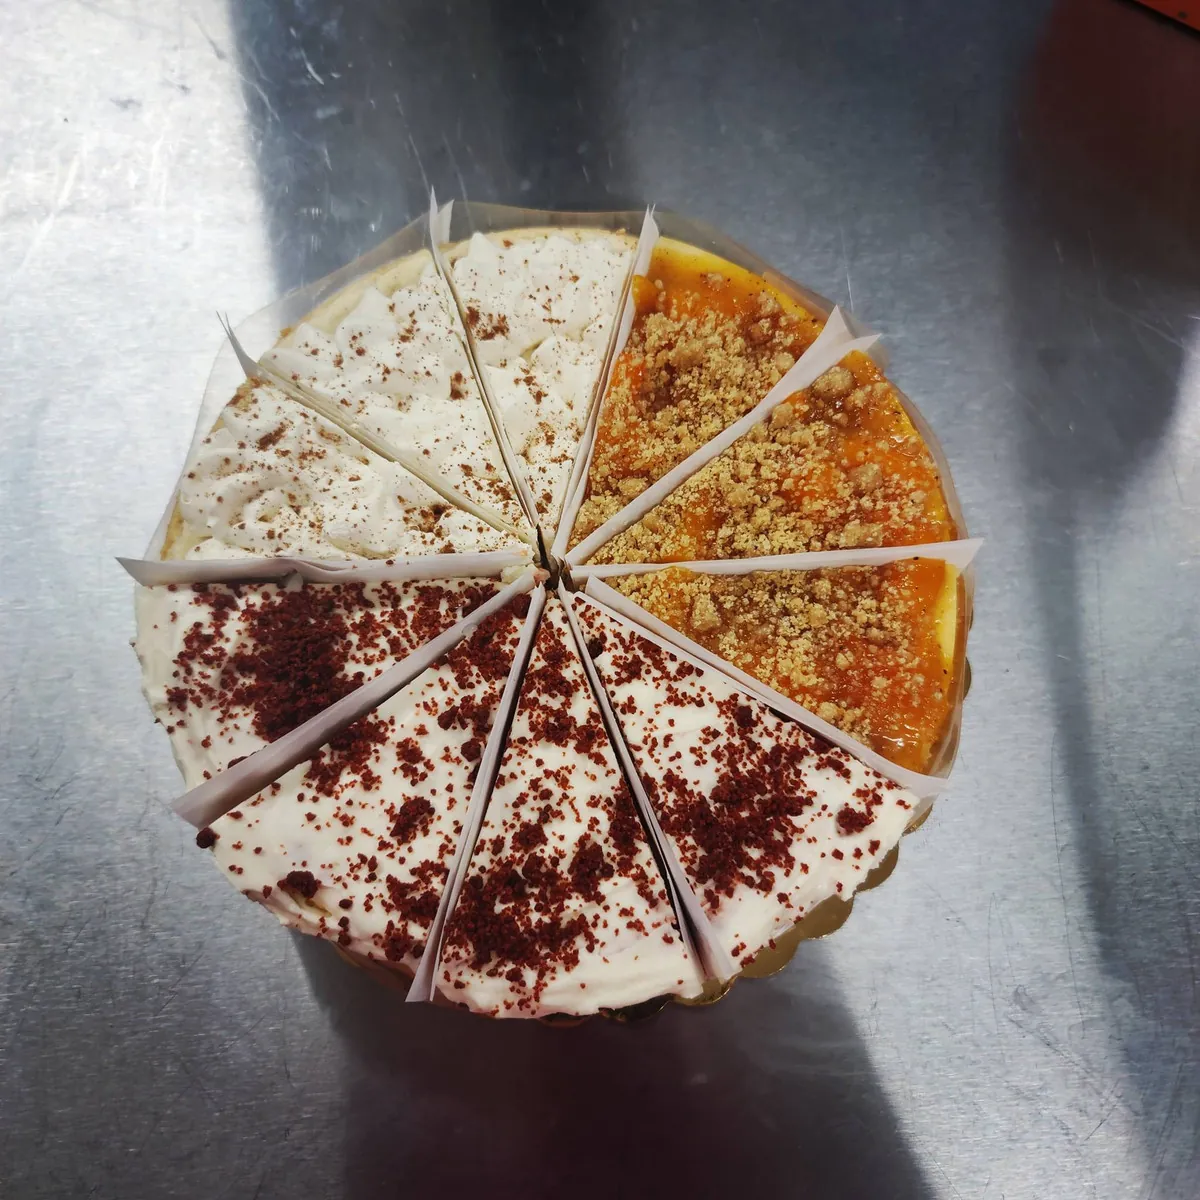
If you are serving a group with different preferences, let the cake stay simple and put one or two extras on the side. A sampler cheesecake already gives guests flavor variety, while a small bowl of berry sauce or chopped nuts lets people make their own plate without changing the whole cake.
Use fresh fruit for an easy, polished finish
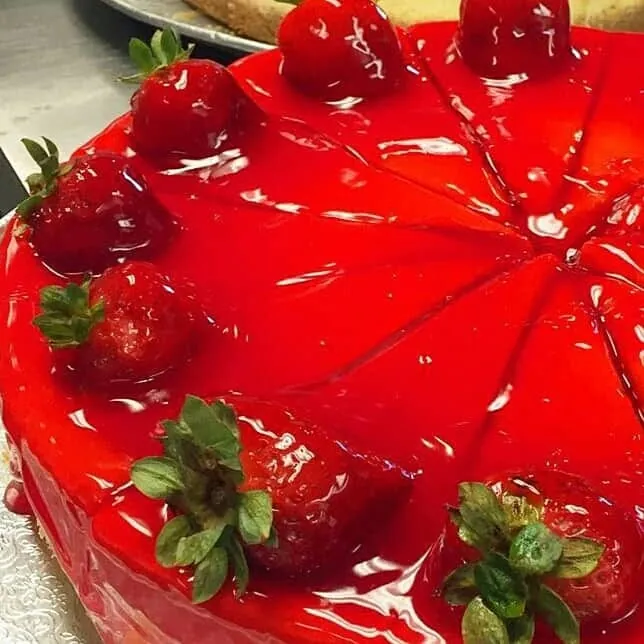
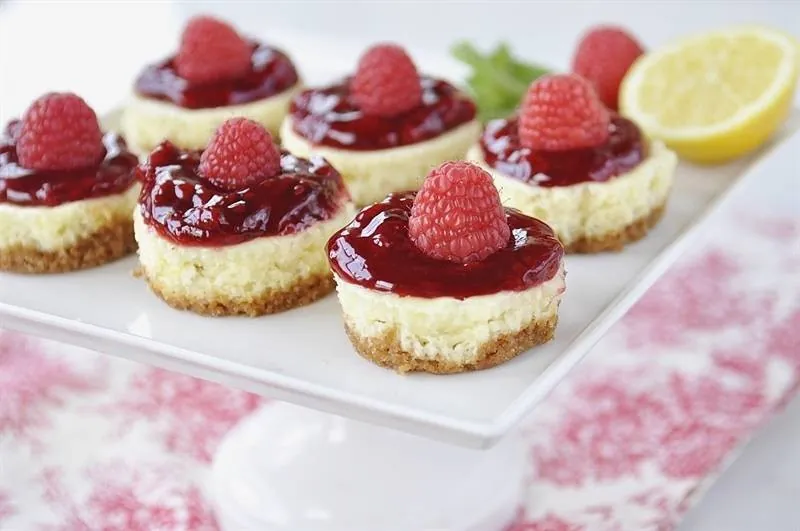
Fresh fruit is a reliable choice because it brings color and brightness to a rich, creamy dessert. Strawberries, raspberries, blueberries, blackberries, and thin slices of kiwi all work well on a classic cheesecake. Dry the fruit carefully with paper towels first. Extra moisture can make a smooth surface look wet, and fruit that is dripping with rinse water will slide instead of sitting neatly where you place it.
For a simple pattern, place the largest pieces first. Arrange halved strawberries or a ring of larger berries around the outer edge, then add smaller berries toward the center. Leave a little open space. A clean circle of fruit usually looks more generous than an overloaded pile, and it gives you a useful guide for where to cut slices later.
Fruit is best added close to serving, especially when it is cut or very ripe. If you need to get ahead, wash and dry it, store it separately in the refrigerator, and arrange it when the plates are nearly ready. A bakery-made fruit-topped cheesecake is the easier choice when you want that finish handled from the start.
Add chocolate, caramel, or a simple sauce with restraint
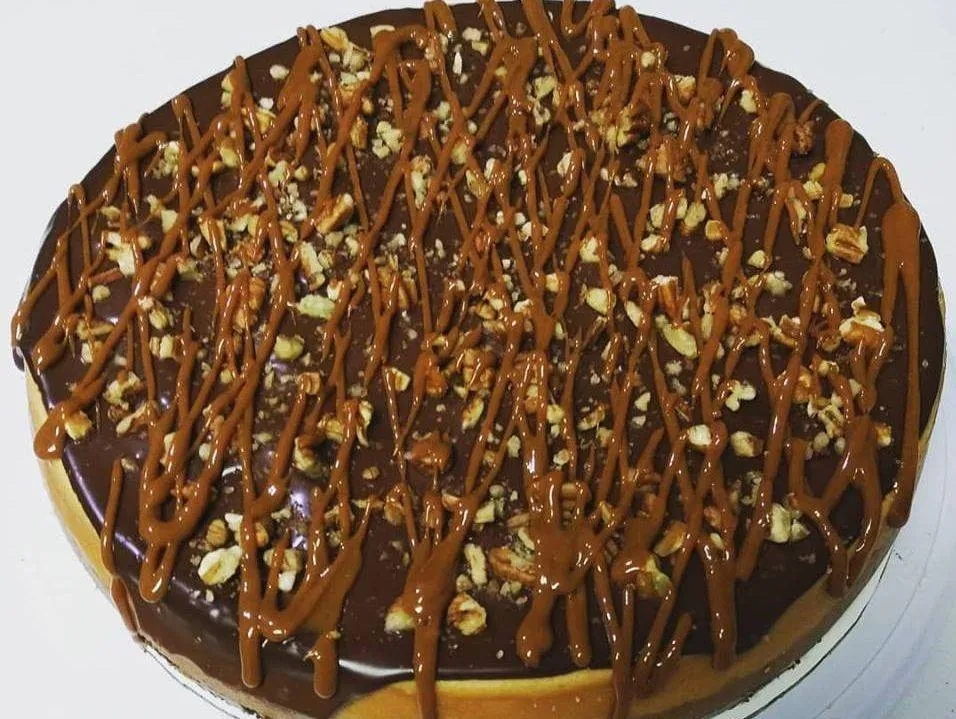
A sauce can make a plain cheesecake feel dressed for dinner, but it works best as an accent rather than a flood. Spoon a small amount into the center and nudge it outward with the back of a spoon, or make a few loose lines across the top. For a more formal presentation, keep the whole cake plain and add the sauce to each plate after slicing. That preserves clean cuts and gives every serving a fresh-looking finish.
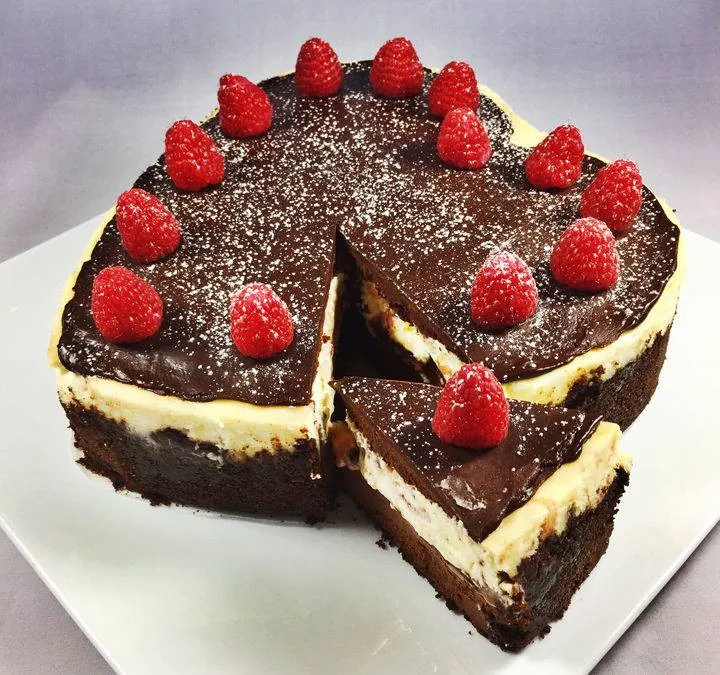
Chocolate shavings, curls, or a light dusting of cocoa can be more forgiving than a heavy layer of ganache. They add contrast without making the cake hard to slice. If you do use ganache, let it cool until it is fluid but not hot before it reaches the cheesecake. A warm topping can soften the surface and make the finish less tidy.
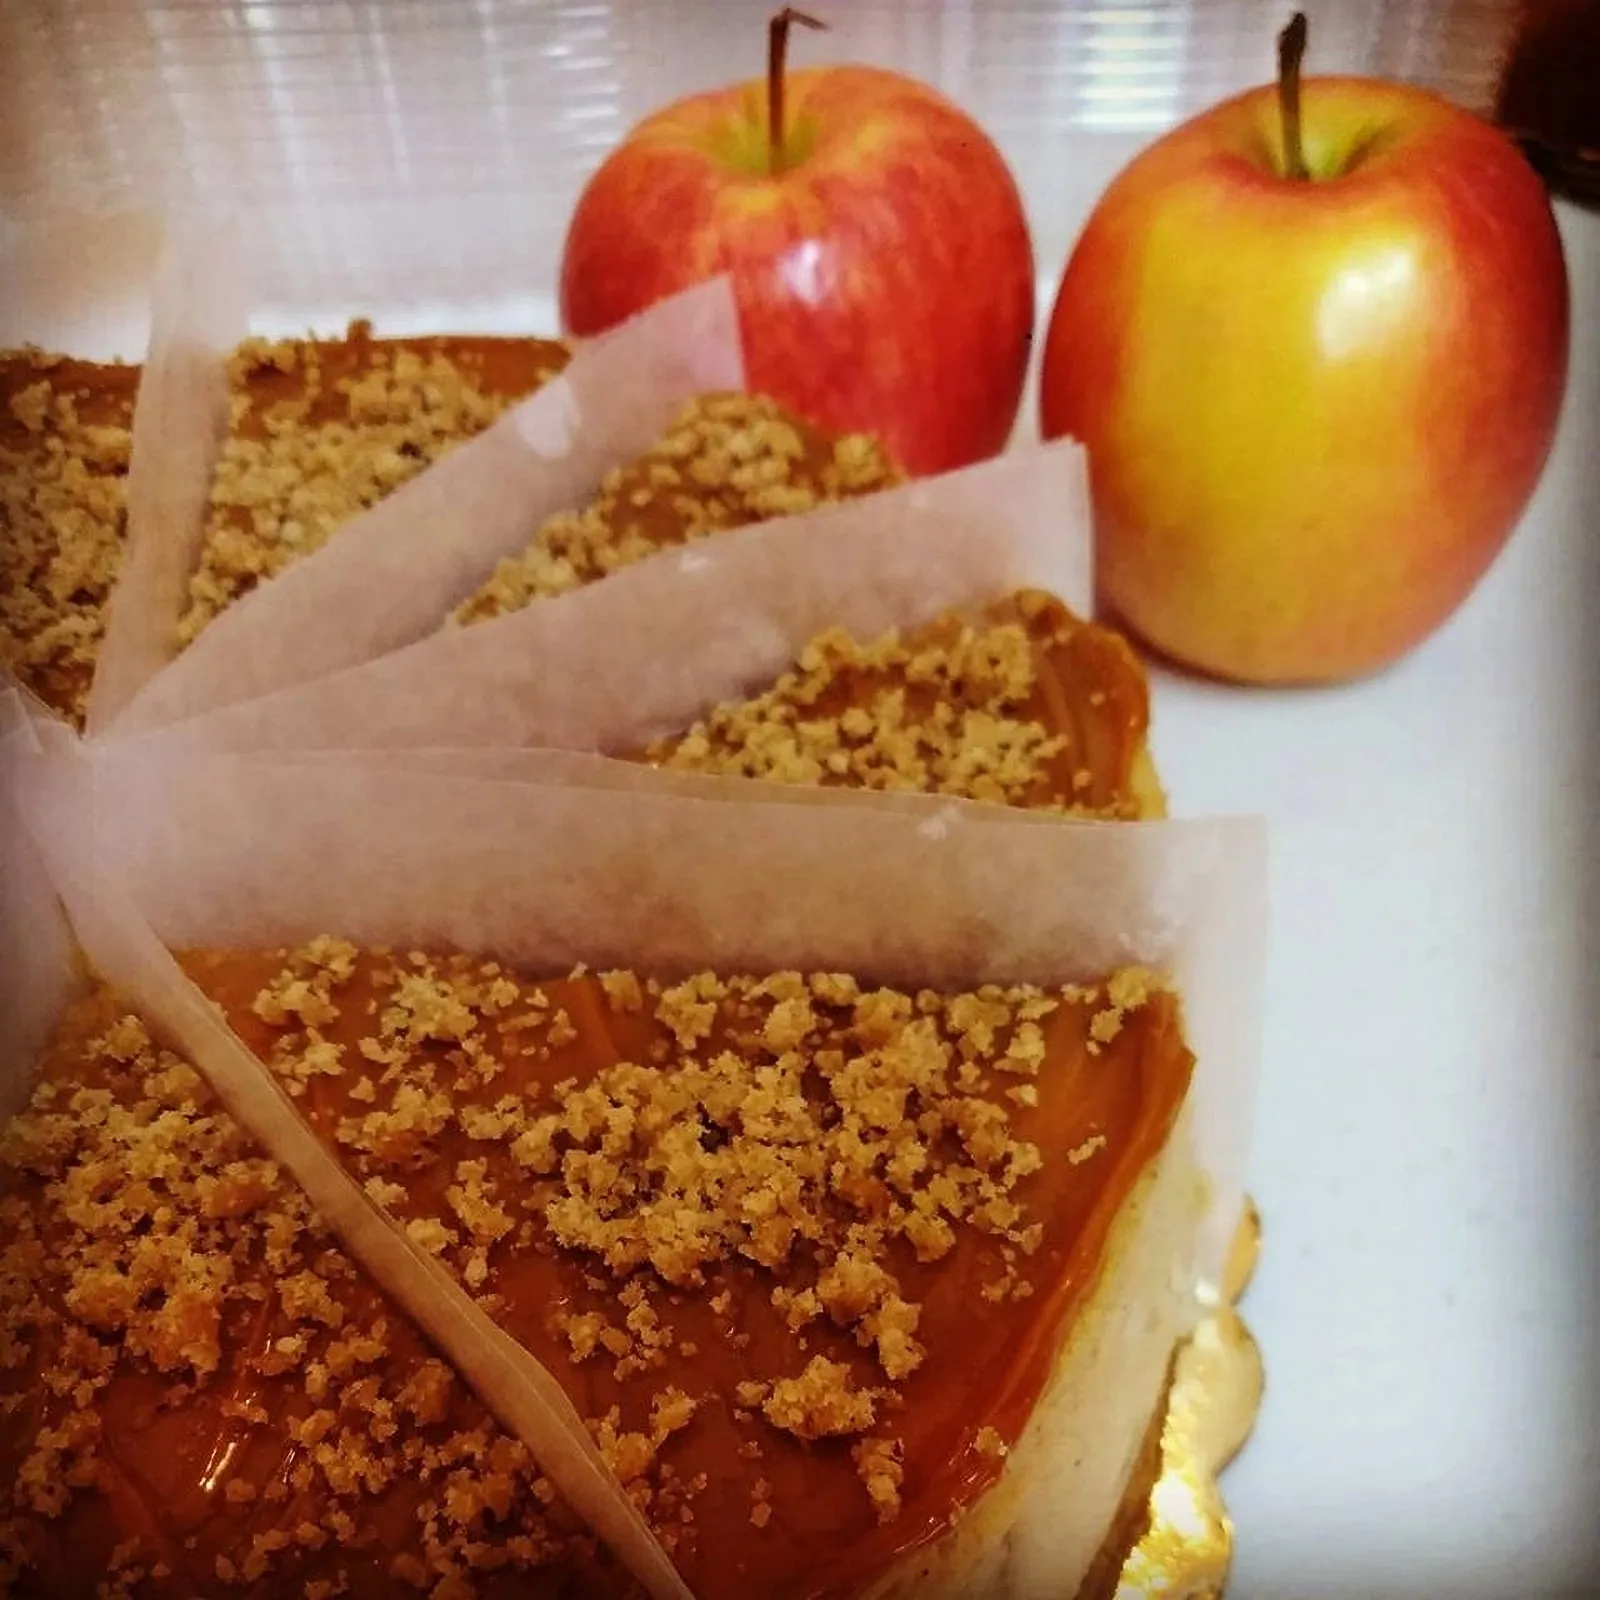
Caramel works especially well with a classic cake, pecans, or apple-forward flavors. Keep the portion modest. Cheesecake already brings plenty of richness, and the best decoration makes the slice more interesting without burying the tangy filling underneath.
Frame the cake with cream instead of frosting every surface
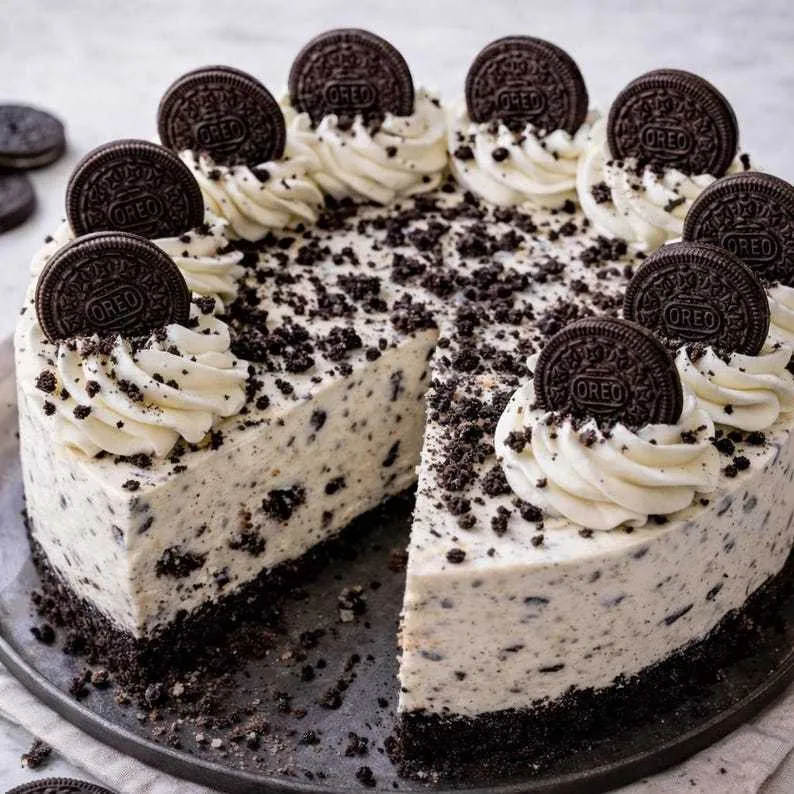
Piped whipped cream is useful because it creates a finished border without asking the cake to behave like a layer cake. A row of small dots, shells, or rosettes around the edge gives fruit and sauce a natural frame. If you do not own a piping bag, a spoonful of softly whipped cream placed at regular intervals can look just as welcoming. Consistency matters more than fancy equipment.
Keep the cream cool while you work, and make the border before adding loose toppings. That order protects the clean edge and keeps berries or chocolate from being nudged around. A border is also practical: it leaves the center open for candles, a small cake topper, or a simple birthday message without making the cake look crowded.
Avoid trying to frost the sides of a dense cheesecake like a sponge cake. The result can feel heavy and distract from the dessert people actually came for. A little cream on top, plus one thoughtful garnish, gives a cheesecake a bakery-style finish while preserving its own character.

Match the decoration to the occasion
For a birthday, use one recognizable color story. Strawberries and cream, chocolate and caramel, or citrus with berries all photograph well and leave room for candles. For a dinner party, a quieter finish often feels more elegant: a spoonful of sauce on each plate, a few berries, and a clean slice can do more than a crowded top.
For showers, office treats, and open-house events, prioritize serving ease. Cheesecake minis can carry different fruit or chocolate finishes without requiring the host to cut a whole cake. They also make it easier to offer a little variety while keeping the table orderly. For a larger group, the catering and events page can help you choose a dessert format that fits the guest count and flow of the day.
For a wedding dessert table, let the surrounding table do part of the visual work. A whole cheesecake with a clean fruit border, a few matching flowers that are specifically food-safe, and a simple stand can sit beautifully alongside minis or other desserts. The cake does not need to compete with every detail in the room.

Keep the finish cold until it is time to serve
A beautiful finish still needs a sensible holding plan. Fresh fruit, whipped cream, and cheesecake all belong in the refrigerator until the dessert is about to be served. The FDA’s food-storage guidance says foods needing refrigeration should not sit at room temperature longer than two hours, or one hour when the temperature is above 90°F. That matters even more for an outdoor Charlotte celebration.
Put out only the amount guests are ready to enjoy, then return the rest to the refrigerator. This keeps whipped cream firmer, fruit brighter, and the cheesecake safer. A cake dome or tall container protects the decoration from refrigerator odors and accidental bumps. Do not press plastic wrap directly onto cream or fresh fruit, because it will pull the finish away when you remove it.
If you are decorating the day before, complete the stable elements first: a cooled sauce, chocolate shavings, or a simple border. Save the most delicate final touches, such as fresh herbs, powdered sugar, or very soft fruit, for just before serving.
Slice cleanly so the decoration still looks good on the plate
The final presentation depends on the cut. Use a long knife warmed under hot water, wipe it dry, make one confident slice, then clean the blade before the next cut. The cheesecake slicing guide walks through that warm-and-wipe method in more detail. It is a small habit that protects the topping and keeps sauce from dragging across each slice.
If a topping is thick or crunchy, score the top gently before cutting through the filling. That gives the knife a path and reduces the chance of pulling decorations away from the slice beside it. Keep a serving spatula close so each piece leaves the cake in one calm motion rather than being pushed, prodded, and negotiated onto a plate.
For a party, you can make the first few cuts before guests arrive, then keep the remaining cake cold. That lets the table look inviting without leaving a decorated dairy dessert out all afternoon.

Let the bakery handle the centerpiece when the day is already full
Decorating at home can be a fun finishing touch, especially when the gathering is small and you have time to enjoy it. But there is no prize for adding one more task to a birthday, shower, or work event that already has a long checklist. A professionally finished cake gives you the dessert-table moment without the last-minute assembly.
Cheesecake Carousel offers whole cakes, fruit-topped options, samplers, and minis so the dessert can match the way people will eat. Start with the current menu if you are choosing for a dinner or birthday. For a larger Charlotte event, share the date, guest count, and serving style through the contact page. The right format makes the cake look considered before you add a single berry.
Frequently asked questions
Can I decorate a cheesecake the day before serving?
Yes, you can prepare stable elements such as a cooled sauce, chocolate shavings, or a simple cream border ahead, then keep the cake covered and refrigerated. Add delicate fruit, powdered sugar, herbs, and other fresh details close to serving so they look their best.
What is the easiest way to decorate a plain cheesecake?
Start with a fully chilled cake, then add one main element such as berries, a fruit sauce, chocolate shavings, or a caramel drizzle. A small cream border or a few carefully placed garnishes will make the result look finished without covering the cheesecake.
How do I stop fruit from making cheesecake watery?
Wash fruit early, then dry it thoroughly with paper towels before it touches the cheesecake. Keep prepared fruit refrigerated separately and arrange it close to serving, especially when it is cut or very ripe.
How long can a decorated cheesecake sit out?
Cheesecake and perishable toppings should not sit at room temperature for more than two hours, or more than one hour when the temperature is above 90°F. Put out only what guests are ready to enjoy and return the rest to the refrigerator.