A cracked cheesecake is frustrating because it usually happens after the hard part feels finished. The crust is baked, the filling looks smooth, the kitchen smells great, and then a split appears across the top. The good news is that a crack is usually a clue, not a disaster. Cheesecake cracks when the surface sets and dries faster than the inside can settle, or when the cake is pushed through a temperature change too quickly. Once you know what causes that tension, you can prevent most cracks and make the rest easy to cover.
First, know that a crack does not mean the cheesecake is ruined
A crack is mostly a surface problem. It can make the top less picture-perfect, but it does not automatically mean the cheesecake is dry, overcooked, or unsafe to serve. In many cases, the filling underneath is still creamy and delicious. Before you start trying to repair it, let the cake cool fully and chill it. A cheesecake often firms up and looks more settled after a few hours in the refrigerator.
The most useful way to think about the problem is simple: the cheesecake expanded while baking, then contracted as it cooled. If the outer surface could not flex enough to keep up, it split. That can happen because of extra air in the filling, intense oven heat, overbaking, a dry baking environment, or a sudden temperature drop. More than one factor may be involved, so it is better to improve the full process than to chase one magic trick.
If you are baking for a birthday, dinner, or holiday, do not let one crack steal the moment. Cheesecake is especially forgiving when it is finished with fruit, sauce, chocolate, whipped cream, or a neat layer of toppings. A calm serving plan matters more to guests than an unbroken top.

1. Mix gently once the eggs go in
Eggs help cheesecake set, but they also trap air when the batter is beaten aggressively. Too much trapped air makes the filling puff in the oven. As it cools, that extra lift falls back down and can pull the surface apart. Start by beating the cream cheese until it is smooth, then mix in sugar and flavorings until the batter is even. Once the eggs are added, use low speed and stop as soon as each egg disappears.
Room-temperature ingredients make this easier. Cold cream cheese tends to stay lumpy, which tempts a baker to keep mixing long after the batter is smooth enough. Let the cream cheese, eggs, and dairy sit out long enough to lose their refrigerator chill before you begin. You are not trying to whip the filling like frosting. You are trying to make a silky, even batter with as little extra air as possible.
After mixing, pause before pouring. Tap the bowl lightly on the counter a few times to release obvious bubbles, then pour the filling into the crust slowly. If you see a bubble on top, pop it gently with a toothpick. That little bit of patience helps the surface bake more evenly.
2. Bake at a gentle, steady temperature
Cheesecake likes a calm oven. High heat can cause the outer edge to set and rise before the center is ready, which puts pressure on the top. Follow the recipe temperature closely, and resist the urge to turn the oven up because the center looks soft. Cheesecake continues to set as it cools, so a slightly wobbly center is often exactly what you want near the end of baking.
Use the visual test instead of poking the middle with a knife. The outer few inches should look set, while the center should still move in one soft, slow area when you gently nudge the pan. If the entire cake looks puffed, dry, or deeply browned, it has likely spent too long in the oven. That is when cracks become much more likely.
Oven accuracy matters too. If your cheesecakes regularly brown too quickly or develop a firm, dry edge, an inexpensive oven thermometer can reveal whether the dial is running hot. Put the pan in the center of the oven unless the recipe says otherwise, and give the oven time to reach a stable temperature before the cheesecake goes in.
3. Use a water bath when the recipe calls for one
A water bath surrounds the cheesecake with gentle, moist heat. That makes the oven environment less harsh, helps the filling bake more evenly, and reduces the chance that the top dries out before the center is ready. It is especially helpful for tall, dense New York-style cheesecakes and recipes that are meant to stay pale and creamy rather than browned.
To prepare one, wrap the outside of the springform pan with two wide layers of heavy-duty foil. Put the pan in a larger roasting pan, then add hot water to the roasting pan after it is on the oven rack. The water should come partway up the outside of the cheesecake pan, not splash into the filling. Work carefully so the pan stays level.
The foil is there to protect the crust from leaks, not to make the cake waterproof forever. Keep the foil tight around the outside and avoid tearing it. If you do not want to place the springform pan directly in water, set a separate pan of hot water on a lower rack. It will not work exactly the same way, but it can still add moisture to the oven.

4. Do not overbake the center
Overbaking is one of the most common reasons a cheesecake cracks. When the filling gets too hot, the proteins in the eggs tighten more than they need to. The cake swells, dries at the surface, and then pulls against itself as it cools. A cheesecake that looks fully firm in the oven is often already past the point where it will finish with the smoothest texture.
Start checking at the earliest time in the recipe. Gently shake the pan, not the oven rack. A finished cheesecake should have a set outer ring and a center that jiggles like soft gelatin, not liquid batter. The center will finish setting from the residual heat while the cake cools. If you use an instant-read thermometer, follow the temperature guidance in the exact recipe rather than a generic rule, since richness and pan size can change the target.
It also helps to avoid opening the oven door repeatedly. Every long look changes the oven temperature and can slow the bake unevenly. Check when it is time to check, then make one clear decision. Cheesecake rewards restraint.
5. Cool the cheesecake gradually
A sudden temperature change can create the same stress as overbaking. Taking a hot cheesecake from the oven straight to a cold counter, or placing it in the refrigerator too soon, asks the filling and surface to contract at different speeds. That is when a smooth top can suddenly split down the middle.
A gentler approach is to turn the oven off when the cheesecake is nearly done, crack the door open a few inches, and let the cake rest inside for about an hour if the recipe supports that method. Then move it to a wire rack to cool at room temperature before chilling. This is not about keeping the cake warm forever. It is about letting the temperature come down in stages instead of all at once.
Once the pan is no longer hot, run a thin knife around the inside edge only if the recipe directs you to do so. That can help a cake release from the pan sides as it contracts. Wait until the cheesecake is thoroughly chilled before removing the springform ring or adding delicate toppings.
6. Give the cheesecake enough chill time
Cheesecake needs time in the refrigerator to become cleanly sliceable and fully settled. Plan for at least several hours, and overnight is often ideal for a whole cake. Rushing this step can make a cheesecake seem softer, less stable, and more likely to tear when you remove the pan ring or slice it.
Cover the cooled cheesecake loosely once it is chilled enough to protect the surface. Keep strong refrigerator smells away from it, and add fresh berries, whipped cream, or crisp toppings close to serving time. The bakery's cheesecake storage guide has practical advice for keeping a finished cake cold, covered, and at its best after the celebration.
When it is time to serve, use the same cold-and-clean approach that keeps slices tidy. A long sharp knife, warm water, a dry blade, and a wipe between cuts make a noticeable difference. The cheesecake slicing guide walks through that simple routine.
How to cover a cracked cheesecake beautifully
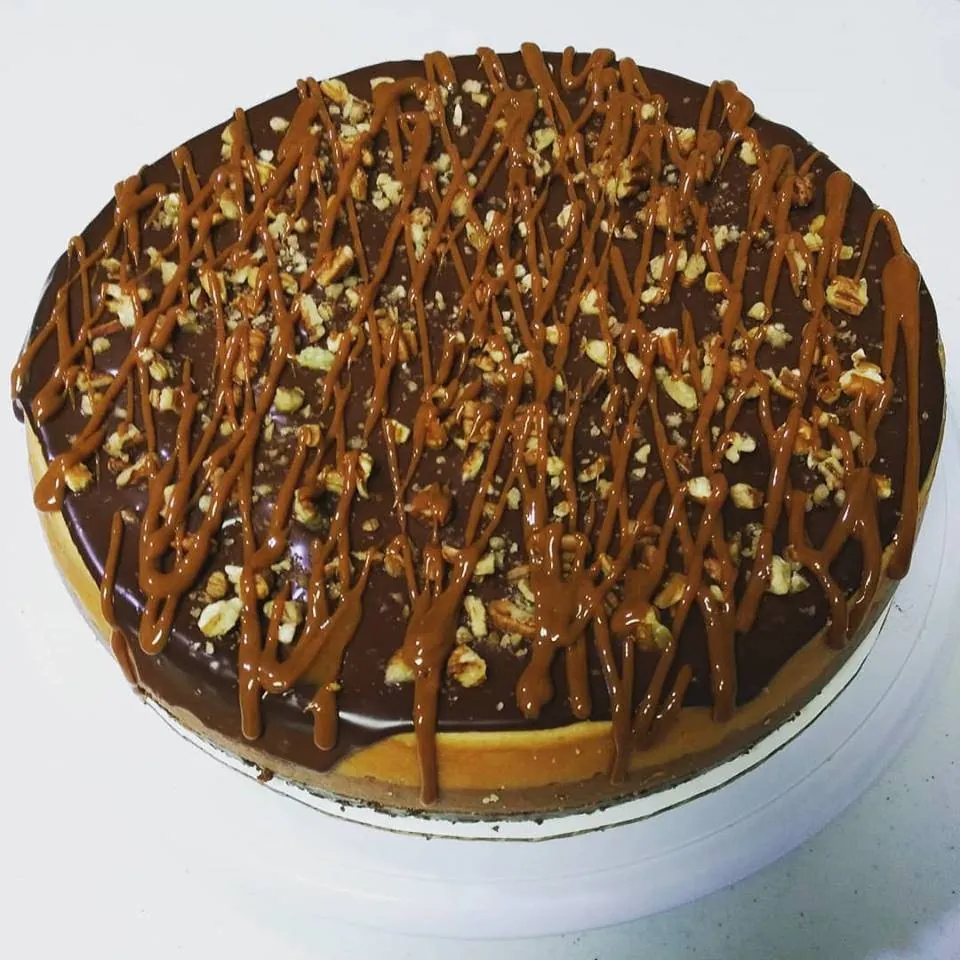
The easiest fix is to make the top look intentional. A thin layer of sour cream topping, fruit sauce, ganache, lemon curd, caramel, or whipped cream can cover a shallow crack and add a finished flavor note at the same time. For a deeper split, spoon the topping over the whole surface instead of trying to fill only the line. An even finish looks more natural than a patch.
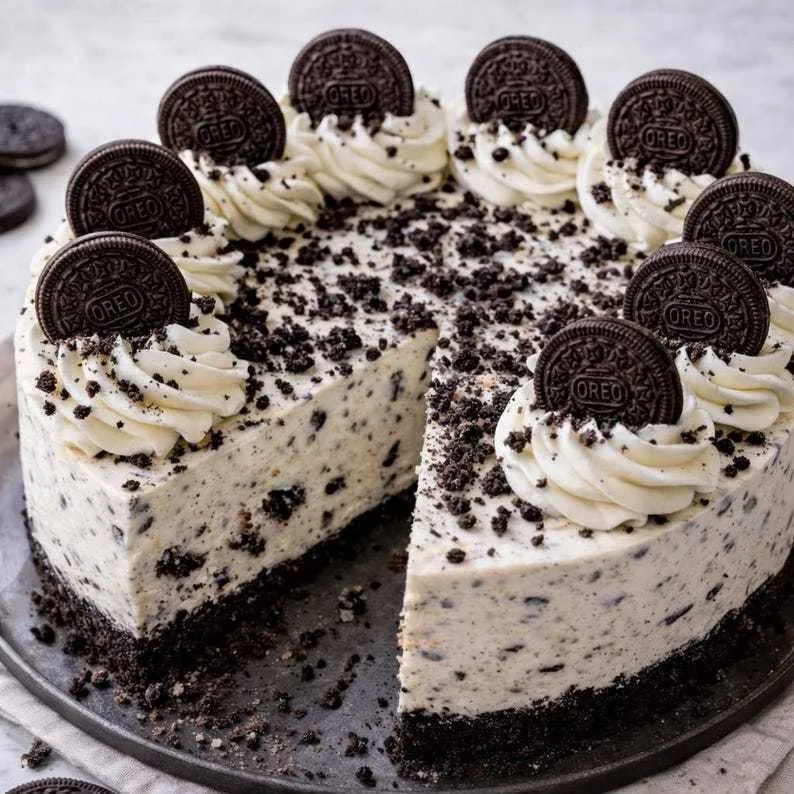
Fresh berries are another forgiving option. Arrange them in a loose ring, build a small mound in the center, or pair a simple sauce with a few sliced strawberries. Chocolate curls, crushed cookies, toasted nuts, or a dusting of cocoa can work when they match the recipe. Keep the decoration connected to the cheesecake flavor so it feels like dessert, not a cover-up.
For an event, slice the cake cleanly and plate it with a sauce or fruit garnish. Guests see a beautiful dessert portion, not the top of the whole cheesecake. A cracked cake can still become the kind of slice people remember.

When you want the cheesecake handled for you
Baking a cheesecake can be a satisfying project, but the dessert should not become the stressful part of the occasion. When you want a polished centerpiece without mixing, baking, cooling, and decorating on the same week as the party, a bakery-made cake gives you the finished dessert without the surface-crack drama.
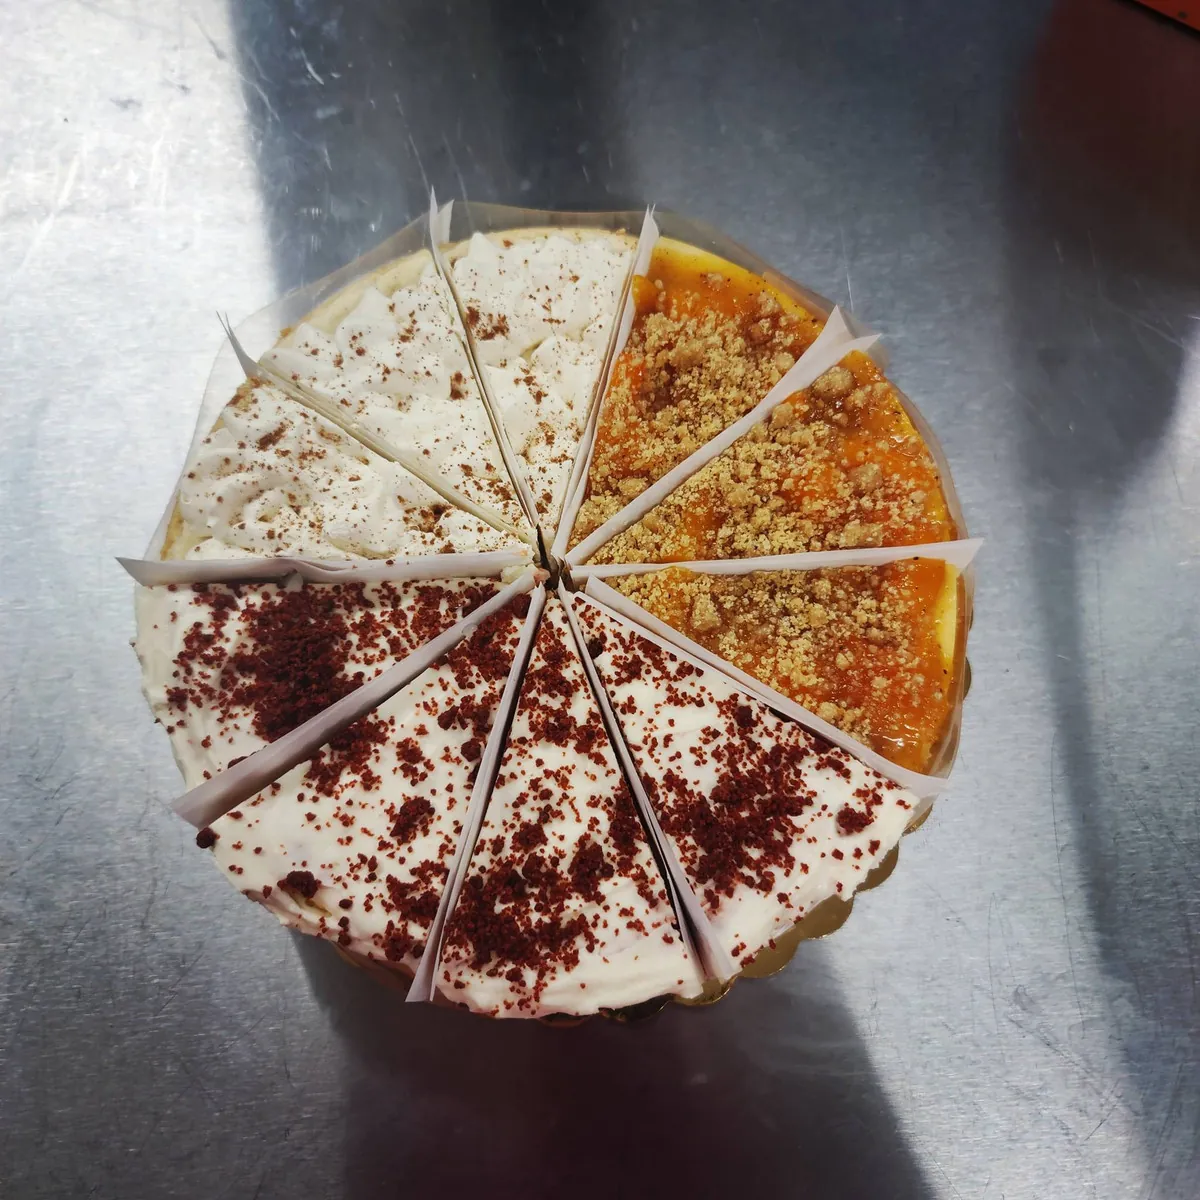
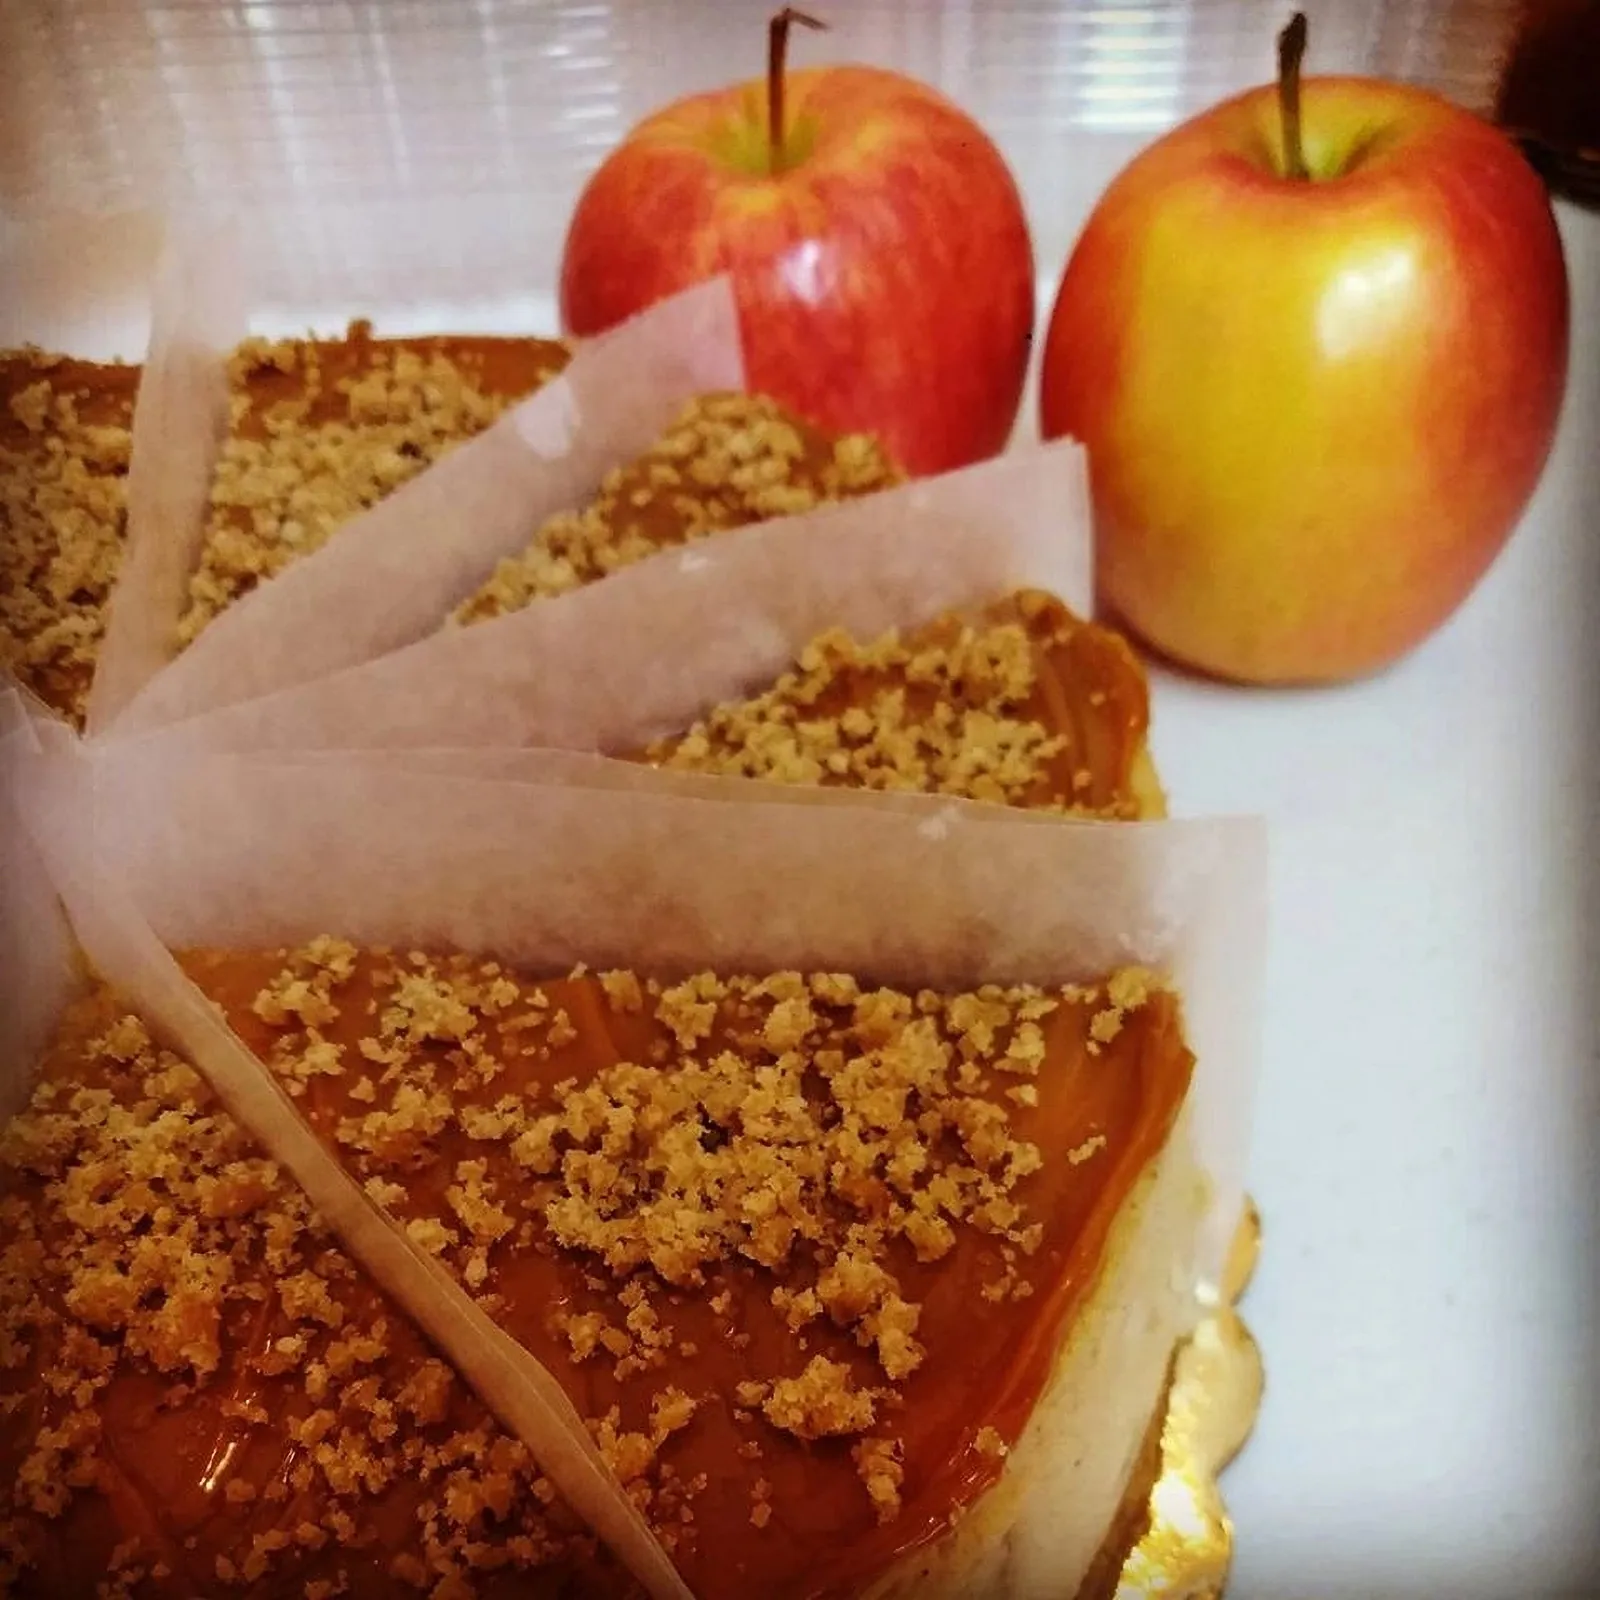
Cheesecake Carousel offers whole cheesecakes for dinner tables and celebrations, plus mini cheesecakes when a crowd needs individual portions and flavor variety. A sampler cheesecake is useful when the group does not want to choose just one flavor.
For a larger Charlotte celebration, start with the catering and events page or share the date and guest count through the contact page. The right dessert format makes serving easier, whether the plan is a small birthday dinner, an office treat, a wedding table, or a casual open house.
A simple no-crack checklist
Bring the ingredients closer to room temperature. Mix the filling until smooth, then keep the mixer low after the eggs go in. Bake at the recipe's gentle temperature, use a water bath when it is called for, and take the cheesecake out while the center still has a soft wobble. Let it cool in stages before chilling it fully.
If a crack still appears, do not panic. Chill the cheesecake, choose a topping that suits the flavor, and serve it with care. A creamy slice with fruit or sauce is still a real dessert moment. The crack is a lesson for the next cake, not a reason to hide this one.
Frequently asked questions
Why did my cheesecake crack after I took it out of the oven?
Cheesecake can crack as it cools because the surface and center contract at different speeds. Gradual cooling, rather than a quick move from a hot oven to a cold counter or refrigerator, gives the filling time to settle more evenly.
Can I eat cheesecake with a crack in it?
Yes. A surface crack does not automatically mean the cheesecake is bad. If it was baked, cooled, and stored safely, the crack is usually a cosmetic issue that can be covered with fruit, sauce, ganache, or whipped cream.
Does a water bath stop cheesecake from cracking?
A water bath can reduce the chance of cracks because it provides gentler, moister heat. It works best alongside gentle mixing, careful baking, and gradual cooling, rather than as the only prevention step.
How do I know when cheesecake is done baking?
The outer edge should look set while the center still has a small, soft wobble when the pan is gently nudged. The center continues to set as the cheesecake cools, so a fully firm center in the oven can be a sign it has baked too long.